MIL-DTL-22200/1H(SH)
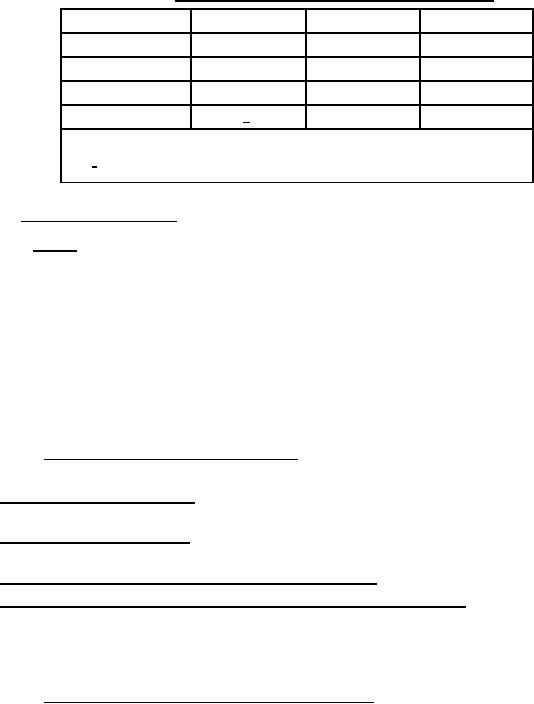
TABLE XI. Wet mix equivalency weld deposit chemical analysis.
Element
MIL-7018-M
MIL-9018-M
MIL-11018-M
Manganese
X
X
X
Nickel
----
X
X
Molybdenum
----
X
X
Copper
----
----
1/
NOTE:
1/
Analysis for copper is only required for electrodes with "RC" suffix.
4.5.3.2 Unsatisfactory test results. Retest shall be in accordance with the following.
4.5.3.2.1 Retests. When any original required conformance test (chemical, mechanical property,
nondestructive inspection, visual/dimensional, etc.) representing a lot of material fails to meet specification
requirements, the lot may be retested at the manufacturer's discretion. If the manufacturer chooses to retest the lot,
the retests shall be as follows:
a. If the test failed due to one (or more) of the conditions listed in 4.5.3.2.1.1, then the lot shall be retested
according to the requirements in 4.5.3.2.1.2.
b. If the test failed due to conditions other than those listed in 4.5.3.2.1.1, then the lot shall be retested
according to the requirements in 4.5.3.2.1.3.
Note that all the specimens in a single test, whether the test involves a single specimen (such as for RT) or
multiple specimens (such as for CVN impact tests), shall be considered a "set".
4.5.3.2.1.1 Testing/specimen preparation error retests. Retests to correct errors in testing and/or test specimen
preparation are permitted under the following conditions:
a. Improperly fabricated test welds. This applies to test welds that have not been fabricated in accordance
with the applicable specification or the weld procedure for the product under test.
b. Improperly prepared specimens. This applies to test specimens that are not in compliance with applicable
standards.
c.
Test equipment malfunction in the process of conducting a test.
d. Flaws in test specimens that are not indicative of inferior or defective product. Flaws at weld starts and
stops at the ends of the test assembly, lack of fusion at the root and slag due to operator technique are normal weld
artifacts and do not count as flaws indicative of inferior or defective products. Cracks, clustered porosity, flakes,
and ruptures are flaws that may be indicative of inferior or defective products and shall not qualify a lot for a
testing/specimen preparation error retest.
4.5.3.2.1.2 Testing/specimen preparation error retest requirements. Retests for conditions listed in 4.5.3.2.1.1
shall be as follows:
a. For each original test that failed due to one (or more) of the conditions in 4.5.3.2.1.1, only one
testing/preparation error retest is permitted.
b. A testing/preparation error retest shall consist of one replacement specimen for each specimen that failed
due to the conditions in 4.5.3.2.1.1. Note for VT, MT, and RT, the specimen is the entire weld. If the testing error
is due to a malfunction of MT and/or RT equipment or to a flaw not indicative of inferior or defective products (see
4.5.3.2.1.1.d) removed by grinding or other suitable methods within 1/16 inch of the surface, the original test assembly
may be retested.
c.
Results of all retests and reasons for all retests shall be reported on the certification of conformance.
d. Retests of weld metal (e.g., mechanical properties) shall be from the same weld used for the original test, if
feasible. If replacement test welds are needed, they shall be fabricated using consumables from the original
sampling, if feasible. If sufficient material is not available from the original sampling or storage of an opened
10
For Parts Inquires call Parts Hangar, Inc (727) 493-0744
© Copyright 2015 Integrated Publishing, Inc.
A Service Disabled Veteran Owned Small Business